A few issues ago, I read an article in Spin-Off which talked about using a blending board to make batts. It sounded interesting at the time, and I made a mental note to give it a try at a later date. A few weeks ago (or maybe a month? I can't keep track), I decided to break out the blending board and finally give this thing a try.
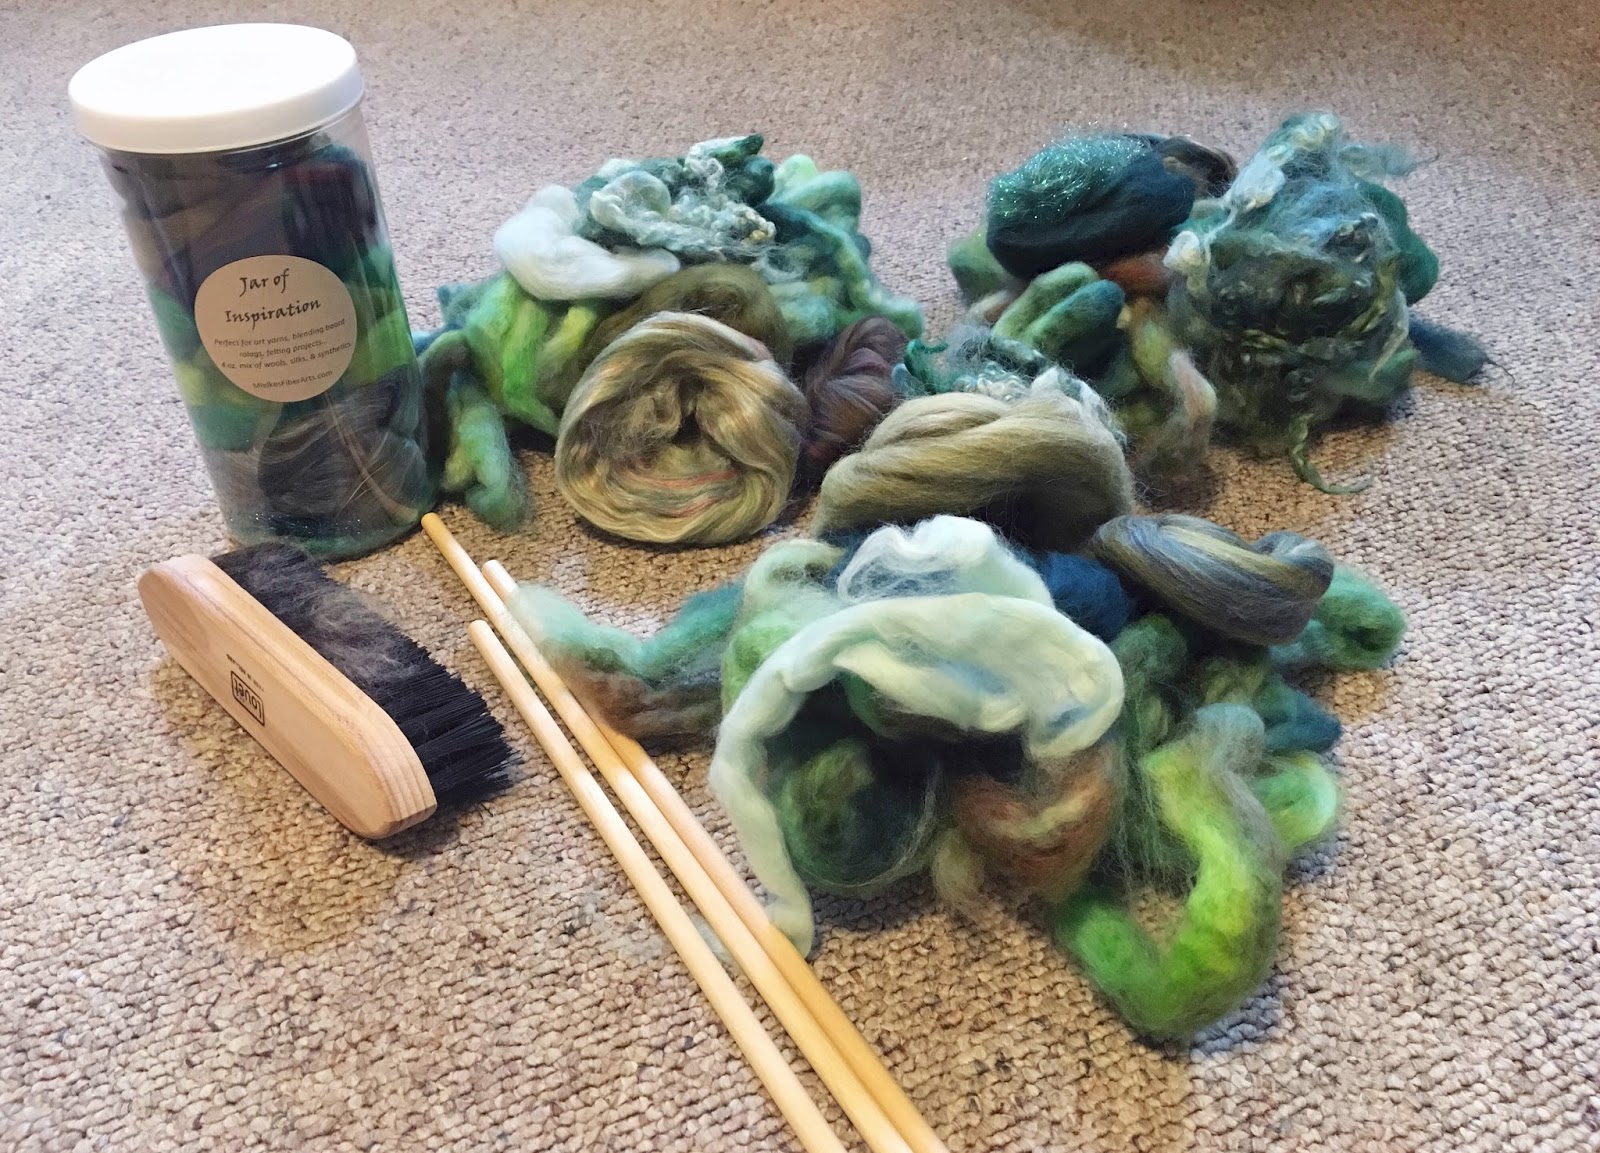
 I had most of a 4oz braid of Cloudlover BFL which I wanted to use as my main base (a portion of that had been used to try out my 3-D printed Turkish Spindle from Turtlemade) to use with a Jar of Inspiration and some dyed fleece I bought on Etsy.
 Before I put anything on the board, I tried to divide everything into three even piles so that each batt had enough similar fibers and colors to allow them to look good when plied together, but then added some unique additions to each one to also make each set a bit different. It wasn't terribly scientific - I don't think I measured a whole lot, save for the base fiber, and my approach for each of the 3 batts created was to load as much onto the blending board as possible. I also tried to make use of what fibers could be teased out beyond the dimension of the carding cloth on the board, hence creating a decent sized blanket of spinnable fiber.
 Each of the resulting three batts became a single:
 And here is what they look like plied together to create a nice bulky 89-yard 3-ply skein:
 With Spinzilla on the horizon for fall, you can bet I'll be creating more batts to spin from! They're each to work from, and also easy to do ahead of time and then store - as much as I would like to predraft roving ahead of time, it can be a little tricky to store said fiber without making a mess. Batts and rolags are a nice option to have when making a Spinzilla strategy.
Speaking of Spinzilla, my team - Team Louet - has a title to defend! We'll be spinning to win once again this year, and spinner registration opens on Sept. 1 (if you were part of our winning team last year, I'll be emailing you shortly to give you a head's up on registering with us once again!).


Speaking of Spinzilla, my team - Team Louet - has a title to defend! We'll be spinning to win once again this year, and spinner registration opens on Sept. 1 (if you were part of our winning team last year, I'll be emailing you shortly to give you a head's up on registering with us once again!).
Comments
Post a Comment